Activate secure TLS communication on email inbox • Windows Mail
Step 1
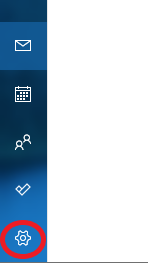
Open Windows Mail and click Settings (gear icon) in the bottom left corner.
Step 2
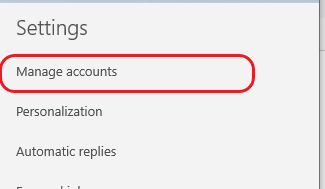
In the left sidebar with the settings displayed, click on 'Manage accounts'.
Step 3
Click on/select your account under 'Manage Accounts' in the left sidebar.

Step 4
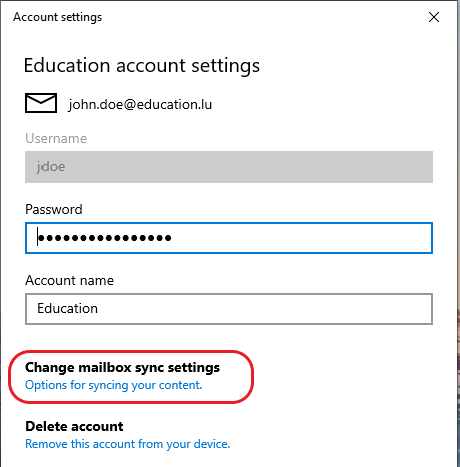
In 'Account settings', click on 'Options for syncing your content'.
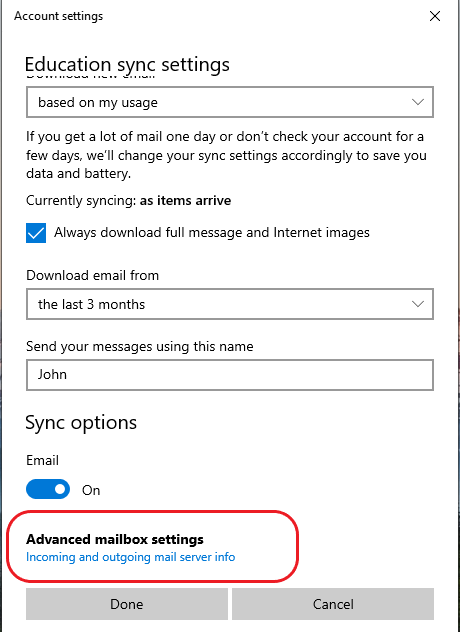
Step 5
In your account’s syncing settings, scroll down, if needed, and click on 'Incoming and outgoing mail server info'.
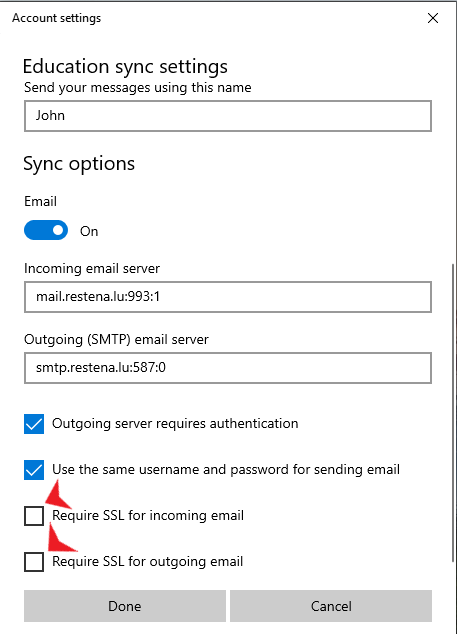
Step 6
Still in 'Account settings', scroll down if needed, to both checkboxes 'Require SSL for incoming email' and 'Require SSL for outgoing email'.
Step 7
Check both the 'Require SSL for incoming emails' and 'Require SSL for outgoing emails' checkboxes, then tap 'Done'.

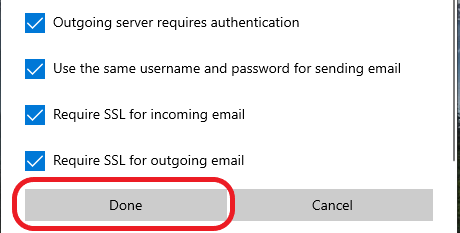
Normally the app will now check the connections again. Please wait for these tests before proceeding to the next step.
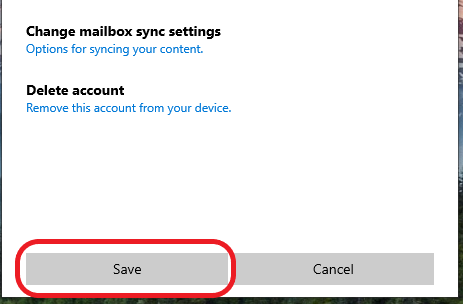
Step 8
Finally, tap 'Save' to save the change and you are done.